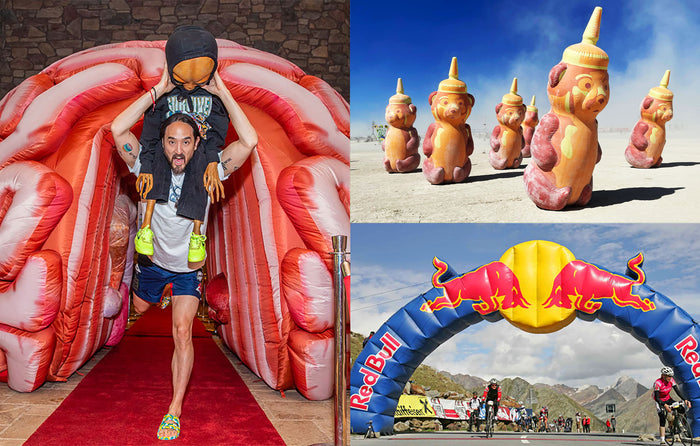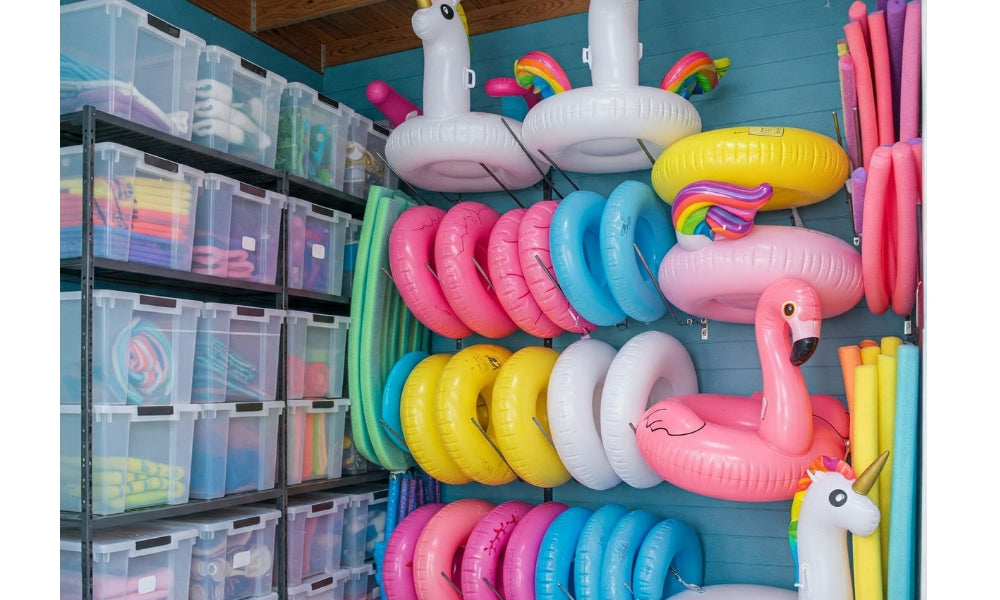
Custom inflatables are the stars of any event, whether they’re floating in a pool, making a statement at a promotional event, or cruising on a yacht. But even the best inflatables can encounter wear and tear. If you’ve ever wondered how to repair inflatables, you’re in the right place. This guide will walk you through everything from how to patch an inflatable to troubleshooting issues, so you can keep your inflatables in perfect condition.
Whether you’re fixing a pool float or tackling an inflatable boat repair, these tips will help you restore your inflatable quickly and effectively.
Common Inflatable Issues
Inflatables are built to last, but they’re not invincible. Here are the most common problems you might face:
- Punctures or Holes: These are often caused by sharp objects or rough handling. They’re usually easy to fix inflatable with a patch and adhesive.
- Seam Leaks: Over time, seams can weaken and start to let air escape. These require a bit more care but can still be repaired with the right tools.
- Valve Problems: If the valve isn’t sealing properly, your inflatable won’t hold air. Sometimes, the valve just needs cleaning or tightening, but in some cases, it may need to be replaced.
Each of these issues can impact the performance of your inflatable, but the good news is that they’re all fixable with the right approach.
Tools and Materials You’ll Need
Before you start, make sure you have the following tools and materials on hand:
- Inflatable repair ratch kit typically includes patches and adhesive designed specifically for inflatables.
- Choose a product made for vinyl or PVC inflatables.
- Cleaning supplies include mild soap, water, and a clean cloth to prep the surface.
- Repair Tape for a quick fix for small punctures or temporary repairs.
- Marker or chalk to mark the damaged area.
- Bucket or spray bottle for leak detection using water or soapy water.
If you’re working on a heavy-duty inflatable, such as a boat, ensure your materials are rated for the job.
Step-by-Step Repair Process
Step 1: Locate the Damage
The first step in fixing inflatables is identifying the problem area. Start with a visual inspection to look for obvious tears, holes, or worn seams. If you can’t find the issue right away, try these methods:
- Soapy Water Test: Mix soap and water in a spray bottle or bucket, apply it to the inflatable, and watch for bubbles forming—this will pinpoint the leak.
- Submersion Test: For smaller inflatables, submerge them in water and look for air bubbles.
Once you’ve found the problem, mark it with a marker or chalk so you don’t lose track of the spot.

Step 2: Prepare the Surface
Proper surface preparation is key to a successful inflatable repair. Start by cleaning the damaged area with mild soap and water to remove any dirt, grease, or debris that could prevent the adhesive from sticking. After cleaning, dry the area thoroughly. Moisture can weaken the bond between the patch and the inflatable, so don’t skip this step.
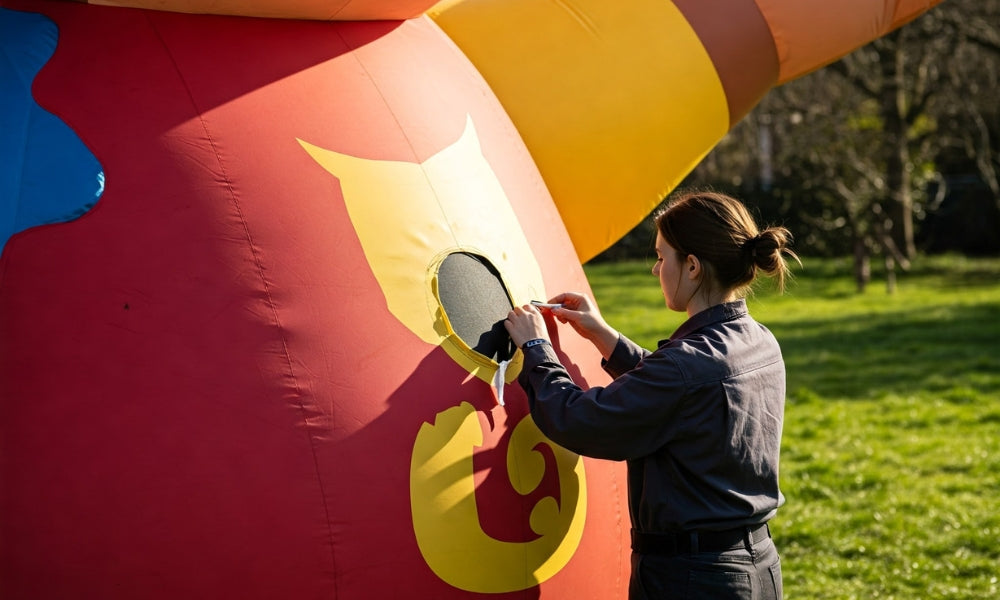
Step 3: Apply the Patch or Sealant
Now it’s time to fix the damage. The method you use will depend on the type of issue:
-
For Punctures or Holes:
- Cut a patch slightly larger than the damaged area, ensuring about an inch of overlap on all sides.
- Apply adhesive to both the patch and the damaged area.
- Press the patch firmly onto the inflatable, smoothing out any air bubbles.
- Let the adhesive cure for the recommended time, usually 24 hours.
-
For Seam Leaks:
- Apply a thin layer of adhesive along the leaking seam.
- Press the seam together and hold it in place for a few minutes.
- Allow the adhesive to cure fully before inflating.
-
For Valve Issues:
- Check for dirt or debris around the valve and clean it thoroughly.
- Tighten the valve if it’s loose.
- If the valve is damaged, replace it with a new one (most repair kits include replacement valves).
Step 4: Test the Repair
Once the adhesive has cured, it’s time to test your work. Inflate the item and check for leaks by repeating the soapy water or submersion test. If you notice any air escaping, reapply adhesive or adjust the patch as needed.
Tips to Prevent Future Damage
To keep your inflatables in great condition and avoid future repairs, follow these simple tips:
- Rinse your inflatables with fresh water after each use, especially if they’ve been in saltwater or chlorinated pools.
- Keep inflatables in a cool, dry place away from direct sunlight. Use the carry bag provided by Floatie Kings for added protection.
- Check for small leaks or signs of wear and tear before each use. Catching issues early can prevent bigger problems.
- Over-inflating can stress seams and valves, so always inflate to the recommended pressure.
These tips apply to all types of inflatables, from pool floats to heavy-duty items like inflatable boats.
Frequently Asked Questions (FAQ)
How long should I let the adhesive cure on the inflatable?
Most adhesives require 24 hours to fully cure, but always check the product instructions for specific guidelines.
Can I repair a large tear, or should I consider professional help?
Small to medium tears can usually be repaired at home. For large or complex damage, it’s best to consult a professional.
Is There a Way to Fix Inflatables?
Yes, most inflatables can be repaired using a patch kit and the appropriate adhesive. Many repair kits include patches, adhesive, and instructions that guide you through cleaning the area, applying the patch, and allowing it to cure properly.
What Is the Best Glue for Repairing Inflatables?
The best glue depends on the material of your inflatable. For vinyl or plastic inflatables, a vinyl adhesive or contact adhesive designed for flexible materials usually works well. Always check the manufacturer's recommendations and consider using a waterproof, flexible adhesive for optimal results.
How to Fix an Inflatable With a Hole in It?
Start by locating the hole—using soapy water can help reveal escaping air bubbles. Once you have found the spot, clean and dry the area thoroughly. Then, apply a patch from a repair kit along with the appropriate adhesive, press firmly, and allow it to cure as directed. Finally, reinflate the item and test for leaks.
How to Repair an Inflatable Float?
The repair process is similar: first, identify and mark the damaged area. Clean and dry the spot, then apply a patch or sealant designed for the material of your float. After securing the patch with even pressure and allowing it to cure for the recommended time, reinflate the float and check that the repair holds.
Final Thoughts
Repairing your custom inflatables doesn’t have to be a hassle. Whether you’re learning how to patch an inflatable pool float or tackling an inflatable boat repair, the steps outlined here will help you get the job done.
By taking the time to repair and maintain your inflatables, you’ll save money and ensure they’re always ready to make a splash at your next event. Have a repair tip or question? Reach out to Floatie Kings for expert advice or to explore our premium custom inflatables designed to impress.
With this guide, you’re now equipped to handle everything from small punctures to seam leaks. So grab your patch kit and get started—your inflatables will thank you!