There's nothing more frustrating than being at a pool party and discovering the pool float isn't working. Fortunately, it's quite simple to fix. The only things you need for this job are patience, knowledge about how to patch a pool float, and the right tools.
Remember that patching a pool float might look like repairing a bicycle or a car tire: you need to localize the leak, clean, and cover the hole. But it’s actually easier because you can do it in a… pool. So, we offer you this small guide about how to patch a pool float.
Important. By knowing how to patch a float you could save a party, a weekend, and even a holiday. Come on, let's rock.

The Importance of Pool Float Patching
Patching your pool floats is vital for sustainable and enjoyable summer fun. Here’s why it's beneficial:
- Cost-Effectiveness: Repairing a float with a simple patch kit is much cheaper than buying new ones each season. Patch kits are affordable and can fix multiple floats, helping you manage your budget effectively.
- Environmental Considerations: By patching and not discarding floats, you reduce plastic waste, aiding in environmental preservation and promoting recycling practices.
- Safety: Maintaining air-tight floats through regular patching ensures safety, particularly for children, and prevents accidents.
- Readiness for Use: Regularly patched floats are always ready for pool parties and family fun, eliminating the inconvenience of last-minute surprises.
- Longevity and Aesthetics: Routine maintenance extends the life of your floats and keeps them looking new, maintaining both functionality and visual appeal.
Patching isn't just a repair; it's an investment in your pool accessories' safety, aesthetics, and longevity, ensuring uninterrupted leisure time and a healthier planet.
4 Simple Steps To Patch Pool Float
Step 1: Find The Leak
First of all, you should learn how to find a hole in a pool float. Examine the pool float looking for a hole and if you don't see anything after one meticulous inspection, you can inflate it carefully paying attention to try to hear the sound of air coming out. These tips aren’t doing the trick? Alright, let's try again. Submerge the pool float in the clean water and look for tiny bubbles that will indicate exactly where is the leak.
So far, so good?
Now, make a circle around the leak. This highlight will significantly help you in the next steps. Also, this method works well when finding a hole in an inflatable toy.

Step 2: Find The Appropriate Repair Tool Kit
There are many repair kit options on the market. So, check if your pool float is made of PVC or rubber before purchasing these elements at Amazon, Shopee, and other reliable e-commerce. Just make sure the sealant you choose is flexible, strong, and, of course, waterproof.
Aren't you sure about what material your pool float is made of? Usually, the manufacturer can provide this information to you. If you need details, check out their website or contact them.
Nice to say that some inflatables already come with a patch to repair.
However, you can still manage a quick fix if you don't have access to a repair kit. For guidance on how to patch an inflatable pool without a patch kit, consider using materials like clear plastic tape, vinyl adhesive, or even a DIY silicone sealant.
Now, make a circle around the leak. This highlight will help you with the following steps.

Step 3: Prepare The Area
Great! You've found the leak and have the correct tools to do the job. The next step is to clean the area where you will apply the adhesive. To do this, rub the surface with alcohol or a sanitizing cleaner and wait to dry – make sure there is no dust or animal fur between the pool float and the patch.

Step 4: Patch The Hole
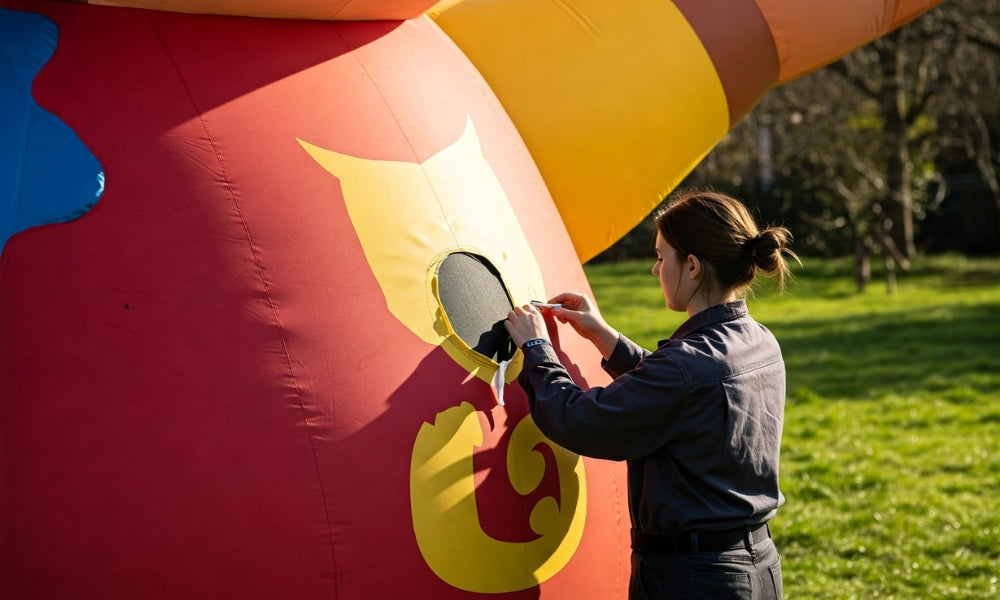
Once the surface is absolutely clean, apply the patch over the leak – this element needs to be big enough to cover all the areas affected. Then, wait for your patch to dry completely.
The job is almost done! It is recommended that you perform the water test again. If no more air bubbles leak out of the pool float, your patch is secure and your pool float was successfully fixed.
Finally, enjoy the summer.

How To Take Care of Your Pool Floats: Helpful Tips
We have already learned how to patch a pool float, right? Nice, but it's important you have good habits with your floatie. Look at some tips below:
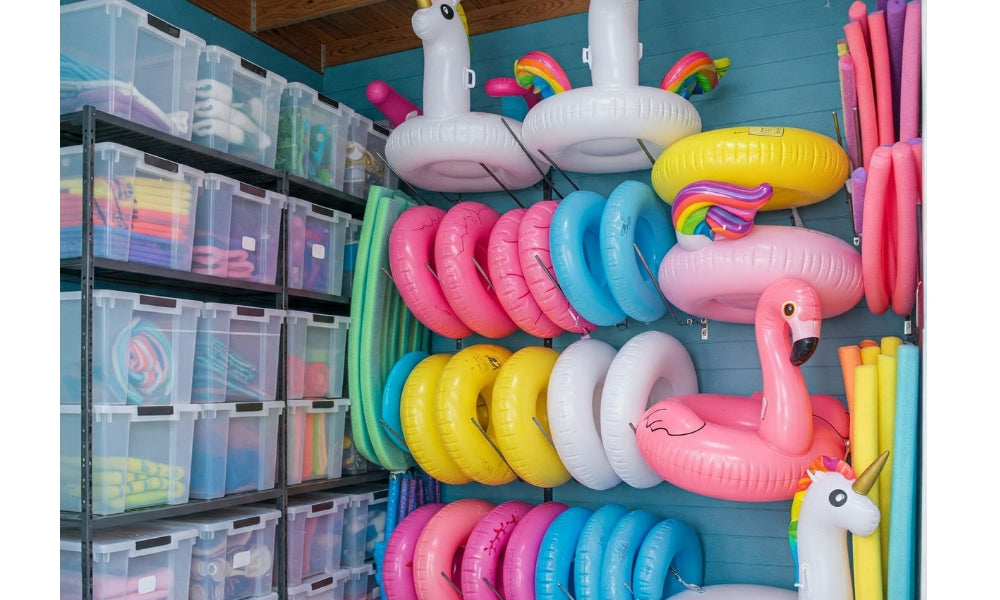
- Learn how to store pool floats in a safe place. Put your float in a box or a resistant plastic bag to avoid any damage caused by pets.
- Clean your float regularly. The reason is simple: chemicals often used in pool water treatment can spoil your summer toy. You should wash it with soup or vinegar after daily use.
- Never over-inflate the float. Learn how to blow up inflatables and pool floaties.
- Be careful when you'll deflate the pool float. This simple care can avoid any problem.
Final Thoughts
As you can see, fixing a pool float isn't a hard job. Once you've acquired that knowledge of how to patch a pool float, you'll be able to enjoy the summer even more and spend time with family and friends.
Get custom pool floats and custom inflatables designed according to your dreams at Floatie Kings. Our floats are eco-friendly, durable, and attractive. We’ve made them for some big clients, such as SXSW, Under Armour, Hypebeast, and more. If you want a float that’s worth using year after year, then you need Floatie Kings.


